Here is an easy one. So you were told you have to start using Smart View:
- instead of using the old Essbase Excel add-in
- or because your company chose to use Essbase, Planning, HFM… for all their EPM needs.
Either way, you’ll have to download, install and configure Smart View.
You can download Smartview directly from the Oracle website but if you want to make sure you’re using the version you are supposed to be using then Workspace is the place to go.
For that, ask your administrator the Workspace URL. You will need admin privileges to your PC in order to install Smart View, if that is not the case, have someone from IT help you out.
Go to Workspace. Once logged in, go to Tools > Install and click on Smart View
The download should start, click Save when prompted.
Once the file has been downloaded, find it (most likely it has been saved in you Downloads folder) and double click to start the installation.
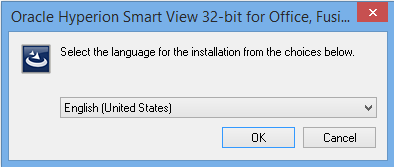
Choose your preferred language and click OK.
To proceed with next steps, make sure all Microsoft office applications are closed.
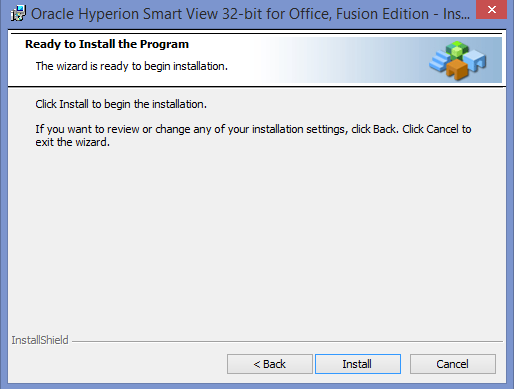
Then follow the configuration wizard, specify the destination folder (default destination should be fine) and finally click Install.
Once done, open Excel and you should see a new tab Smart View if everything went fine. Installation is done. Now it is time to set up the default shared connection. Go to the Smart View tab and click on Options.
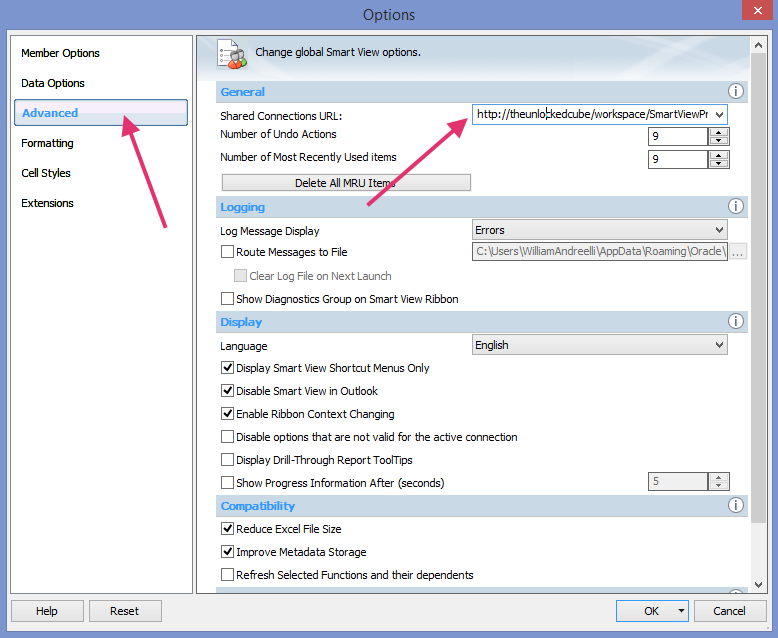
Once the Options window is displayed, go to the Advanced tab, and type in the Shared Connections URL that was provided by your administrator.
Format should be as followed: http://theunlockedcube/workspace/SmartViewProviders.
Finally click on OK. Smart View is now setup and ready to use. For most users the shared Connection setup will be enough. If you need to switch a lot between different environments then, you might want to use private connections for the alternate environments.


