


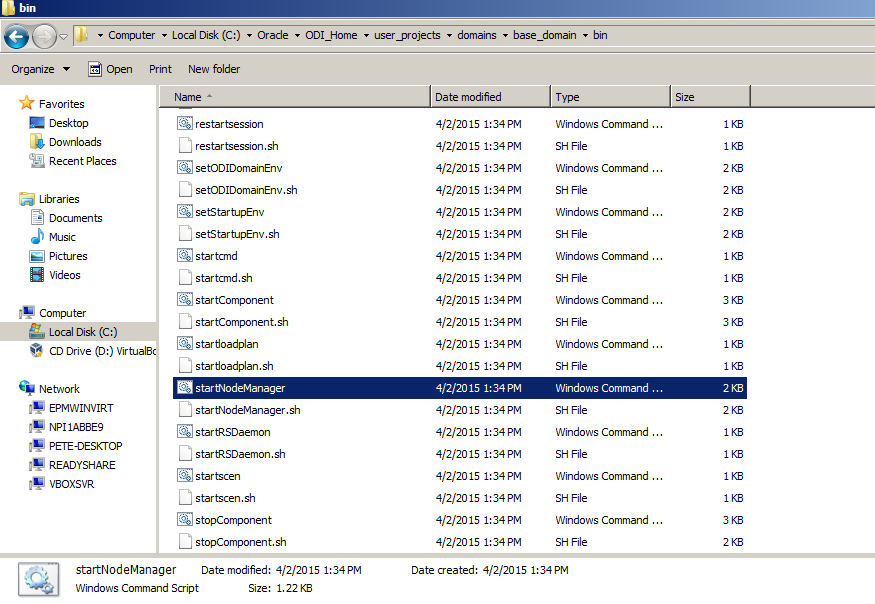
PREREQUISITES
- Download the ODI install file http://www.oracle.com/technetwork/middleware/data-integrator/downloads/index.html.
-
Make sure you have a Java JDK installed. I used the version seen below. The Oracle support matrix shows any version greater than 1.7.0_55 as supported. I’m not sure if 1.8 is supported though so I stuck with version 7. Note that support for 7 is set to expire soon (http://www.oracle.com/technetwork/java/javase/downloads/jdk7-downloads-1880260.html).
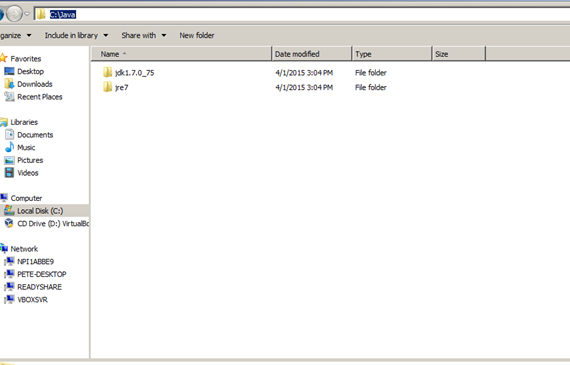
Java
- Relational DB – Set up a supported RDBMS. In this example, an Oracle 12c DB is used. Please see note at bottom about SYSDBA privilege requirements when using Oracle for the DB.
INSTALL ODI
-
Launch the ODI installer using the java.exe and ODI install jar.
Java – jar odi_jar_filename.jar
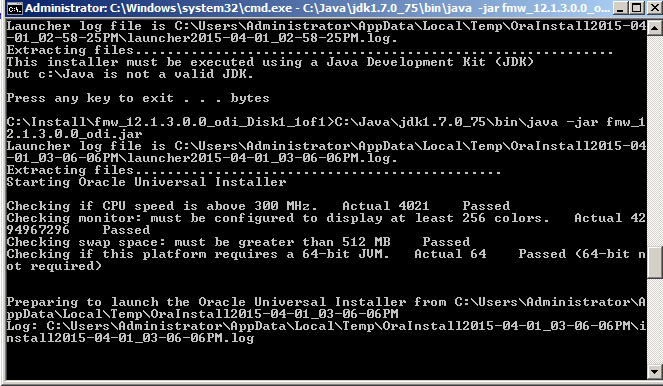
Launch installer
-
Select the install location for ODI. I edited the default location to C:\Oracle\ODI_Home.
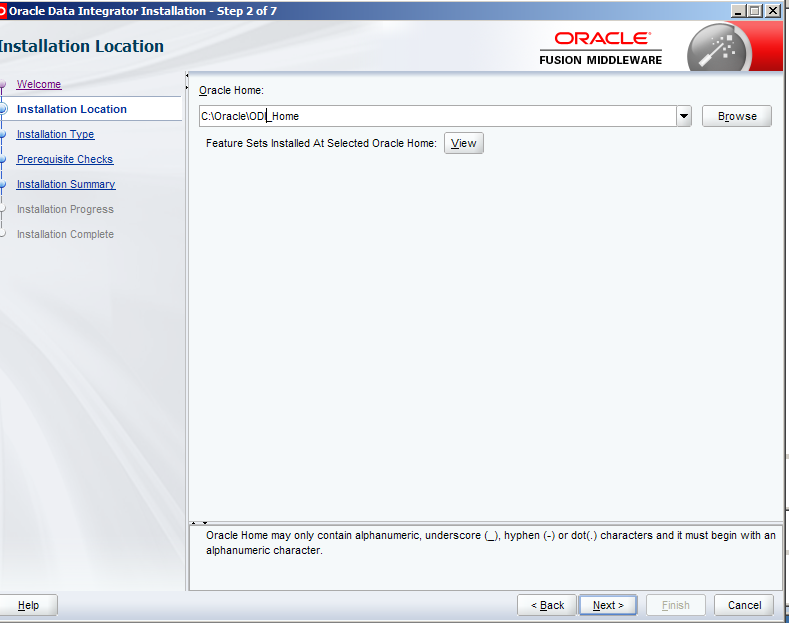
Specifiy Oracle Home
-
I downloaded the install files for a Stand-Alone installation, so I chose Standalone. Additional file need to be downloaded and install if you desire an Enterprise Installation.
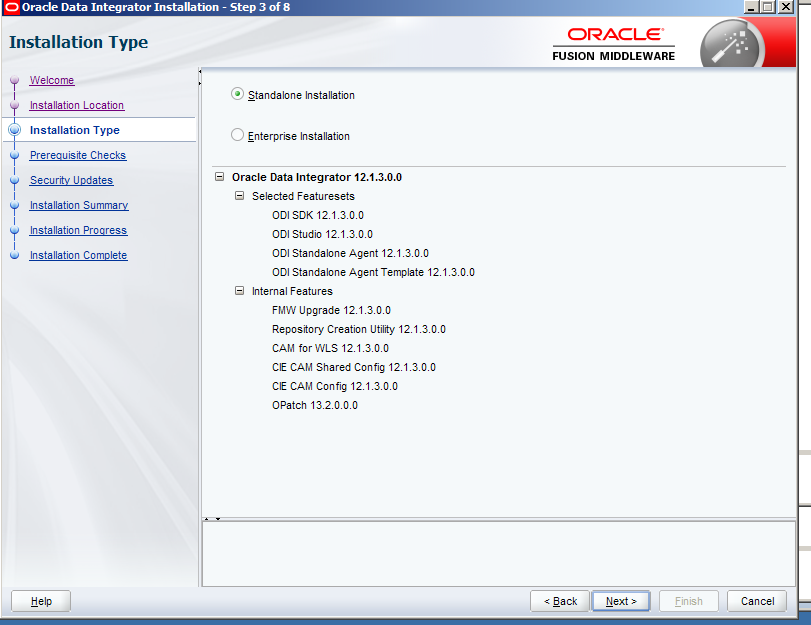
Select install type
- Ensure successful PreRequisite checks.
-
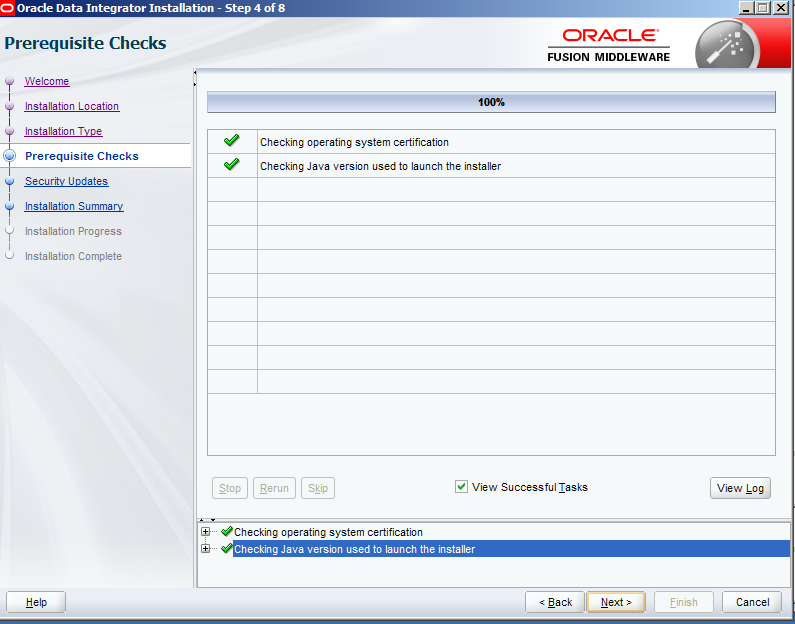
Check status
-
Enter information for support if desired.
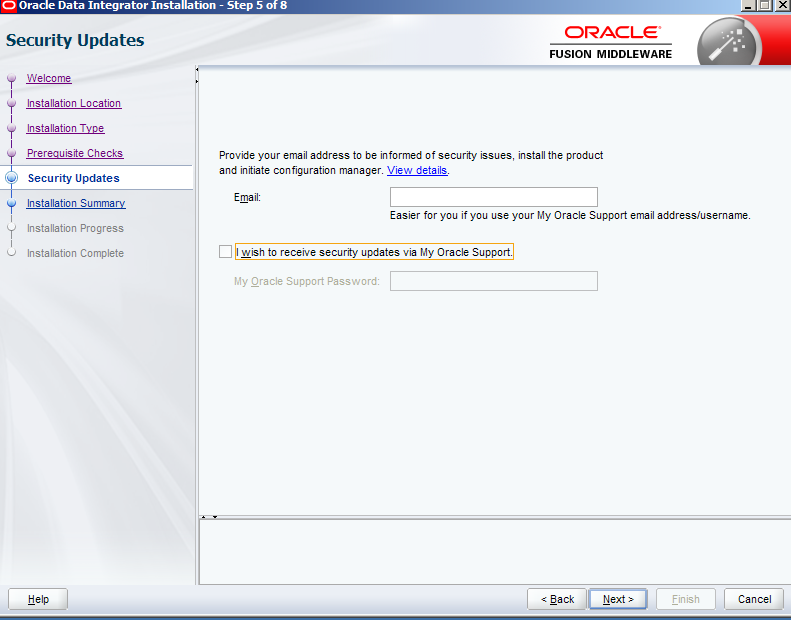
Skip or enter info
-
Confirm Selections and start install
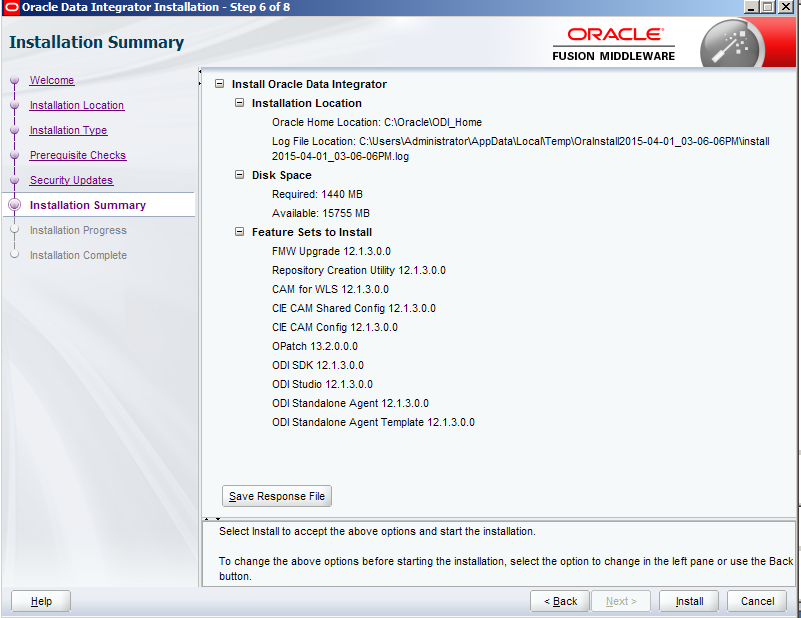
Review install summary
-
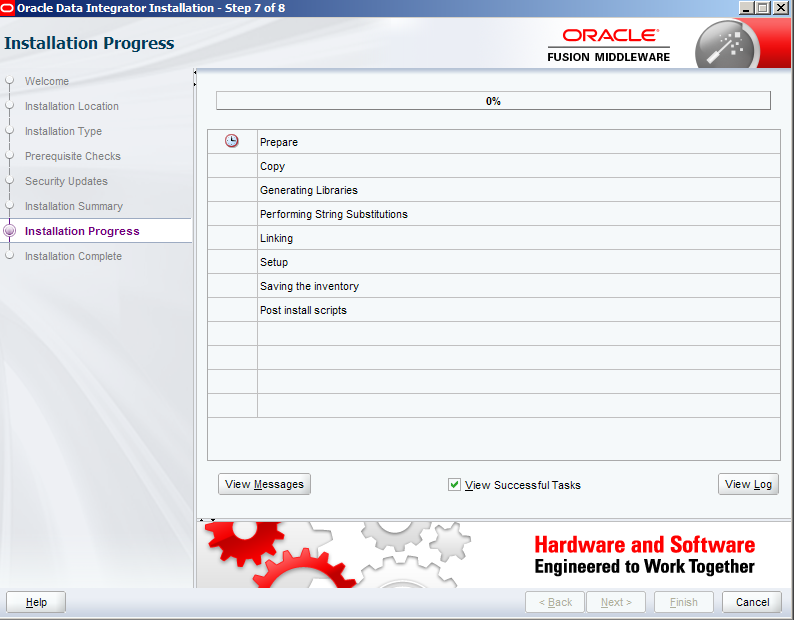
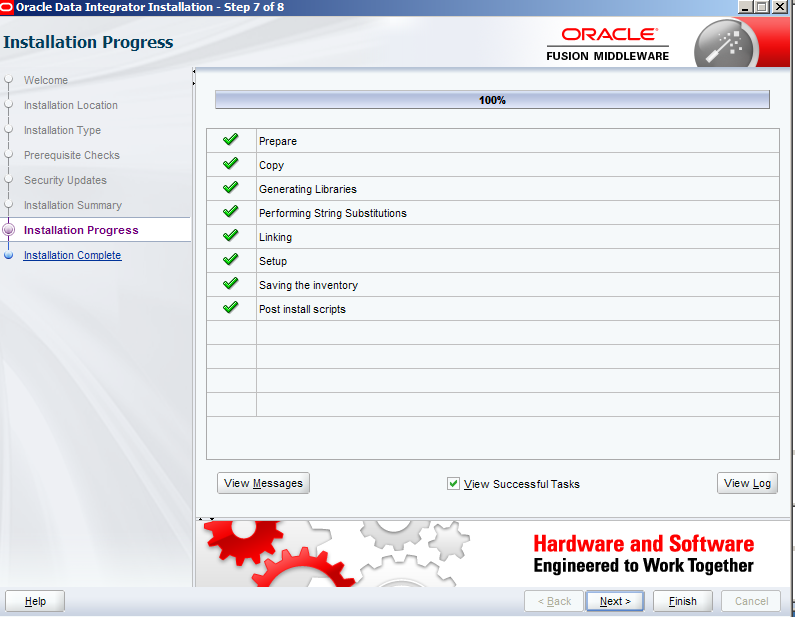
The install will run with progress shown for each step
Install progress
-
Confirm the Installation was successful. If not, review/address errors and re-run the install.
Confirm successful install
CREATE REPOSITORIES WITH RCU UTILITY
-
Insure a system environment variable for JAVA_HOME is set. It may be necessary to logout and back in for this change to take effect
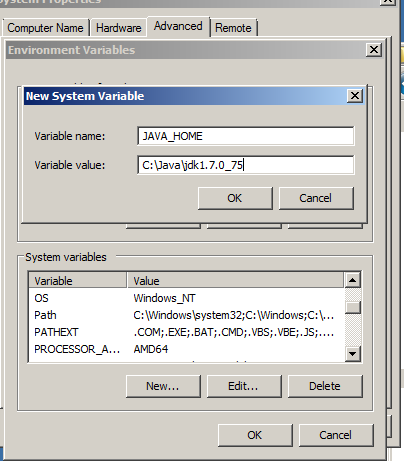
Set JAVA_HOME
-
Start the RCU from a command prompt. Note the location of this utility.
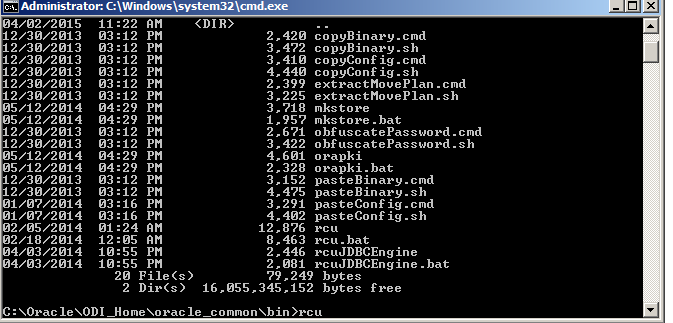
Start RCU
-
Click to create the repositories assuming you have access to a DB user with SYSDBA privileges (see note below).

Create repository
-
Specify connection details for the DB. Here we’re using and Oracle 12c DB. Insure the checks complete OK. If errors are present, they will need to be corrected before you can continue.
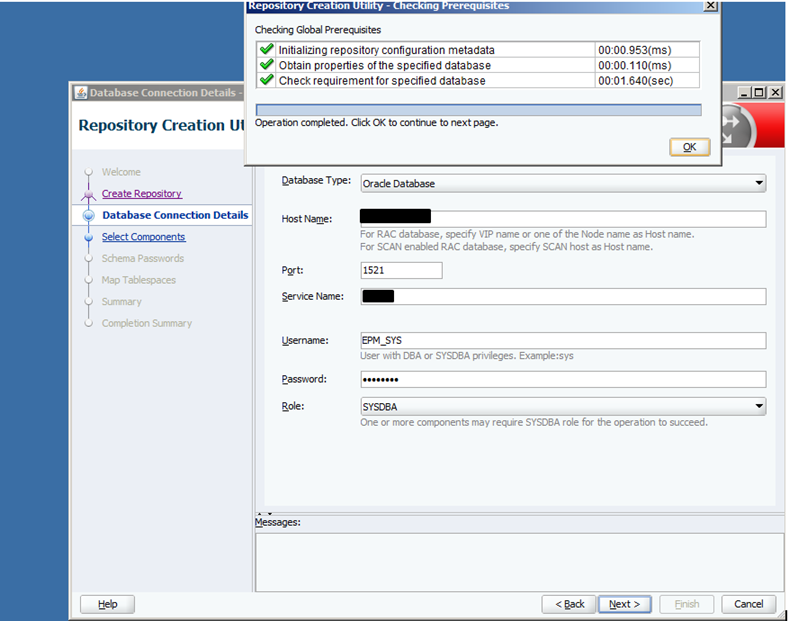
Enter login info
-
Check options and change the prefix used for the repositories.
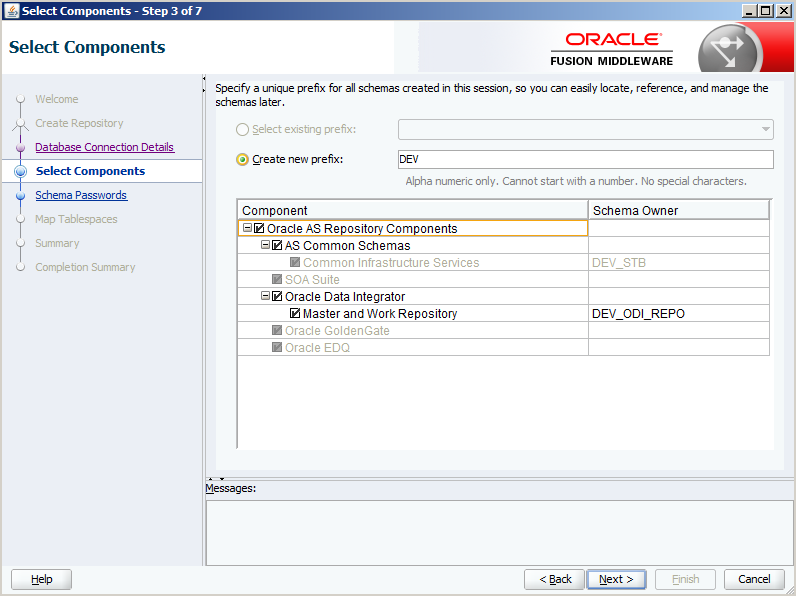
Select options
-
Confirm successful checks.
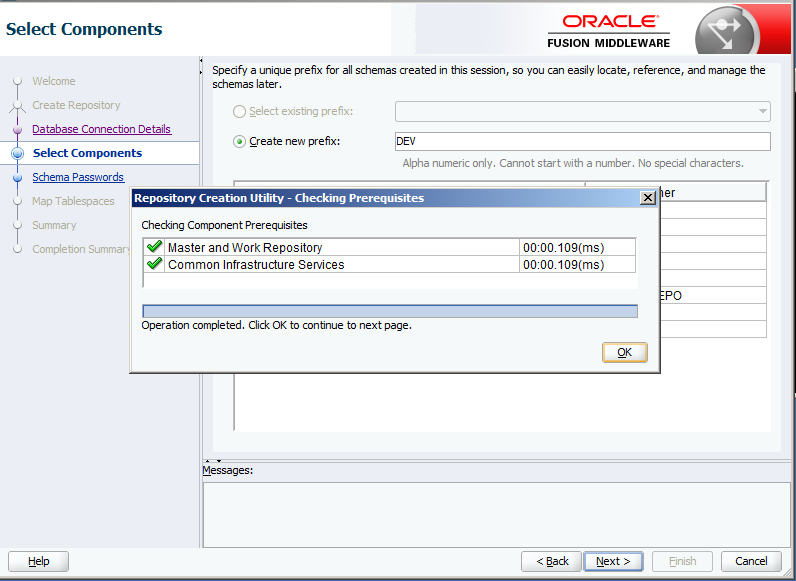
Confirm successful checks
-
For simplicity, I specified to use a single password

Specifiy password
-
Specify values for the custom variables
- Supervisor password – Password for “Supervisor” user
- Work Repository Type – Development allows Studio to create/update packages etc. Execution only allows execution scheduling of scenarios
- Work Repository Name/Password – Credentials for the work repository created in topology
- Encryption Type – Strength of encryption
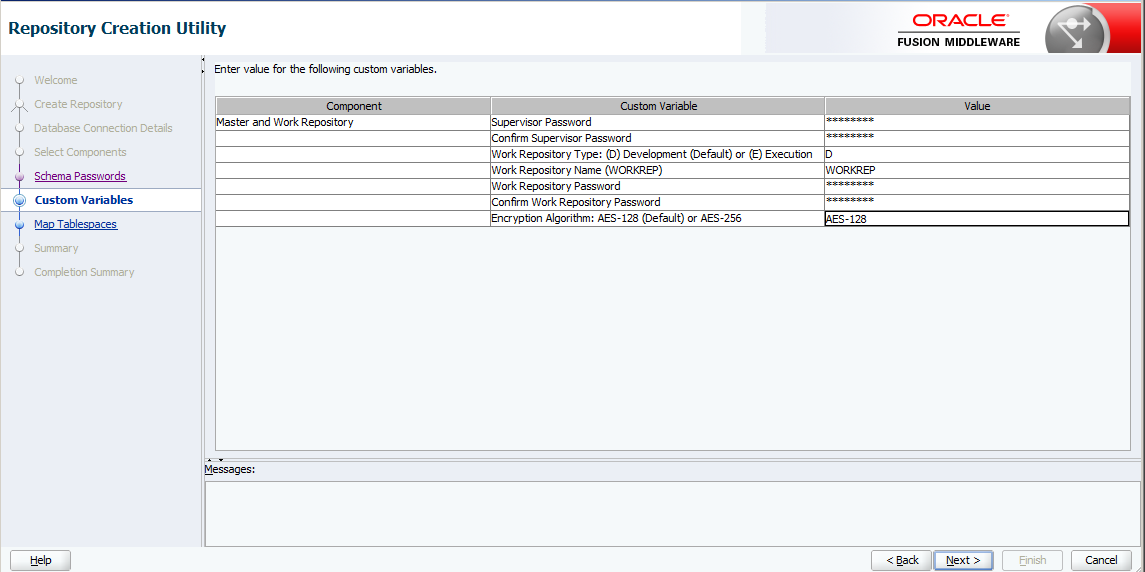
Specify parameters
-
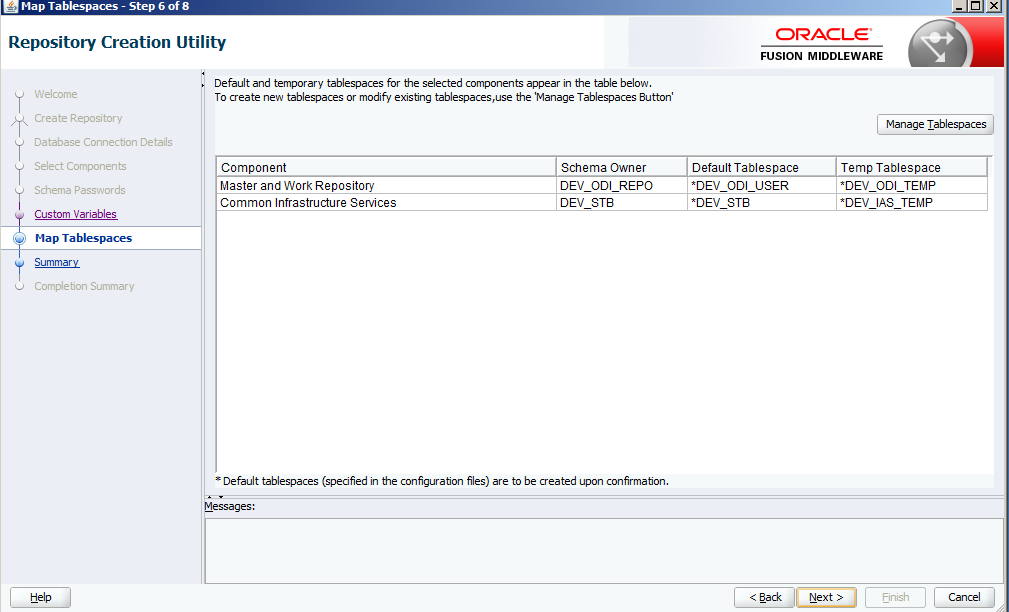
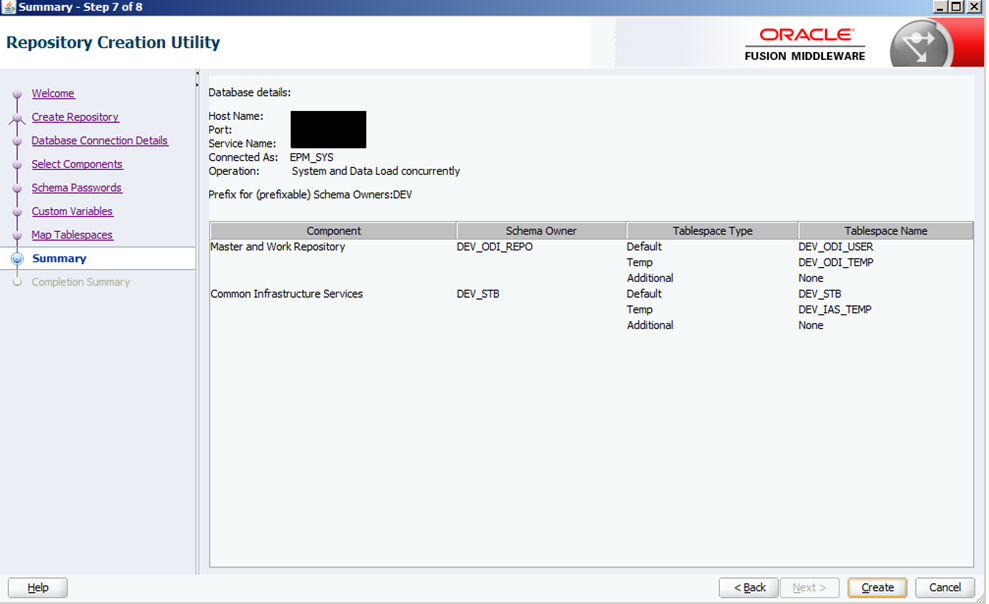
The schemas and tablespaces that will be created are shown
Review repositories to be created
-
If the tablespaces specified do not exist, they will be created.
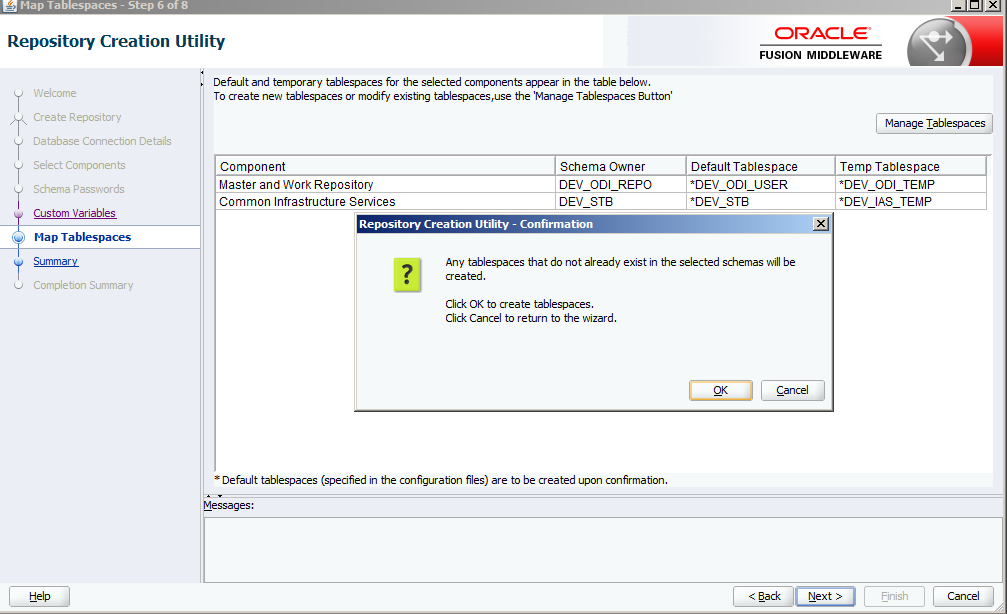
Confirm
-
The tablespaces are created
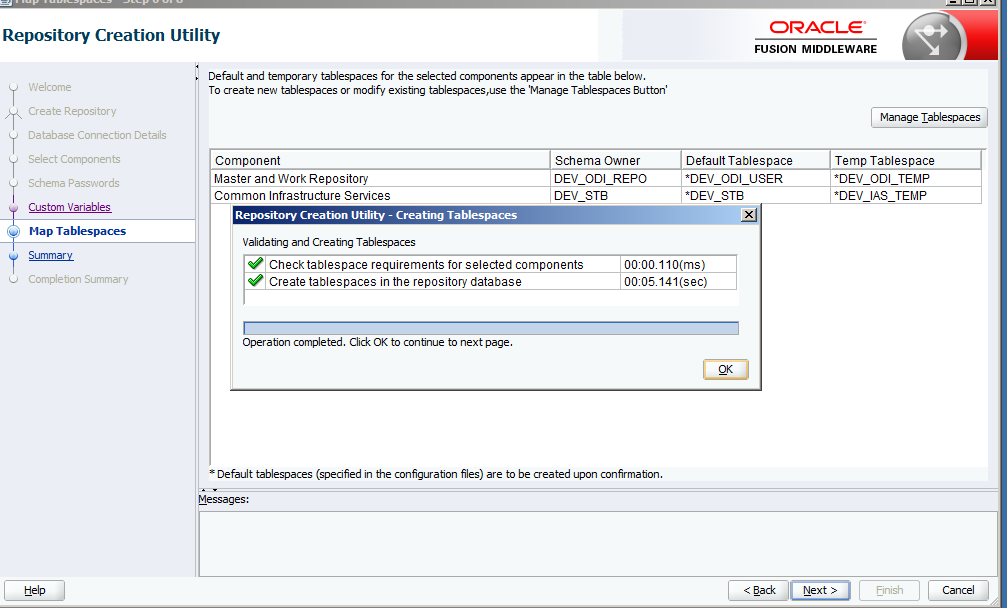
Confirm tablespaces are created
-
Next step is to create the schemas
Create schemas
-
The various objects are created
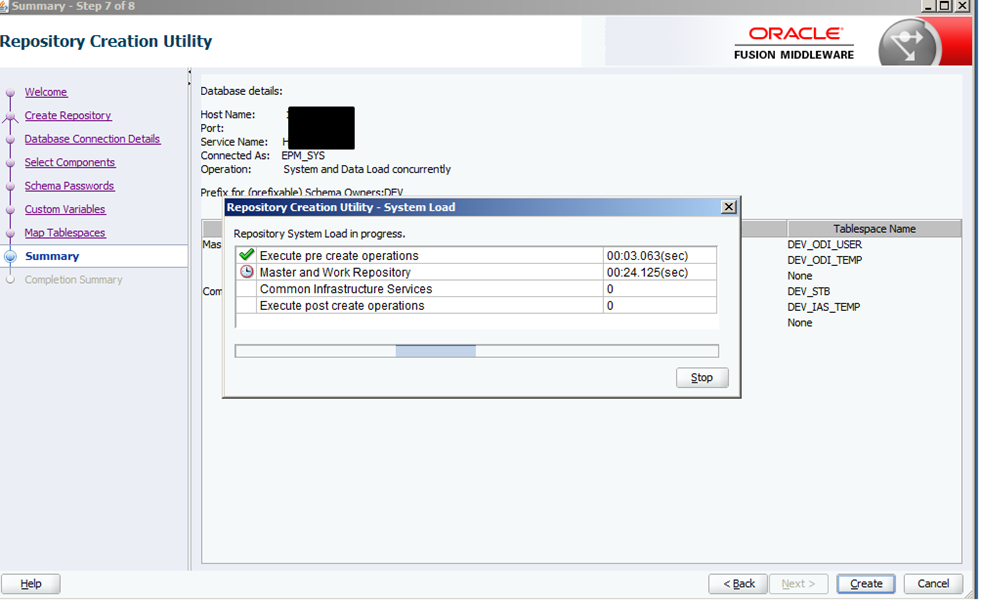
Confirm successful creation
-
The creation of objects completes successfully. In my instance, it took just over 2 minutes
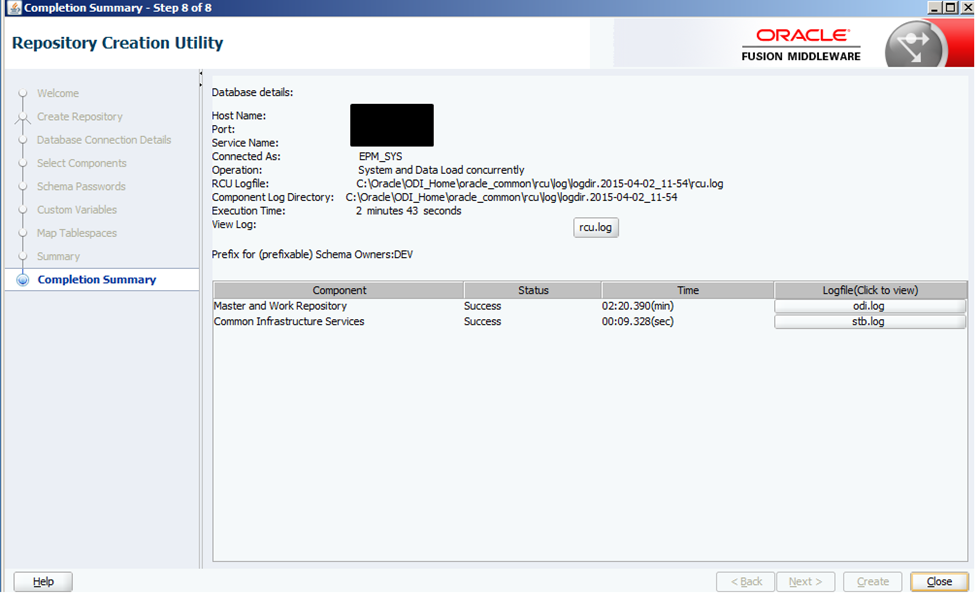
Completed
RUN THE ODI CONFIGURATION UTILITY
-
Launch the config utility to finish setting up ODI

Launch config utility
-
Create a new domain

Create domain
-
Select ODI Standalone agent to create an agent
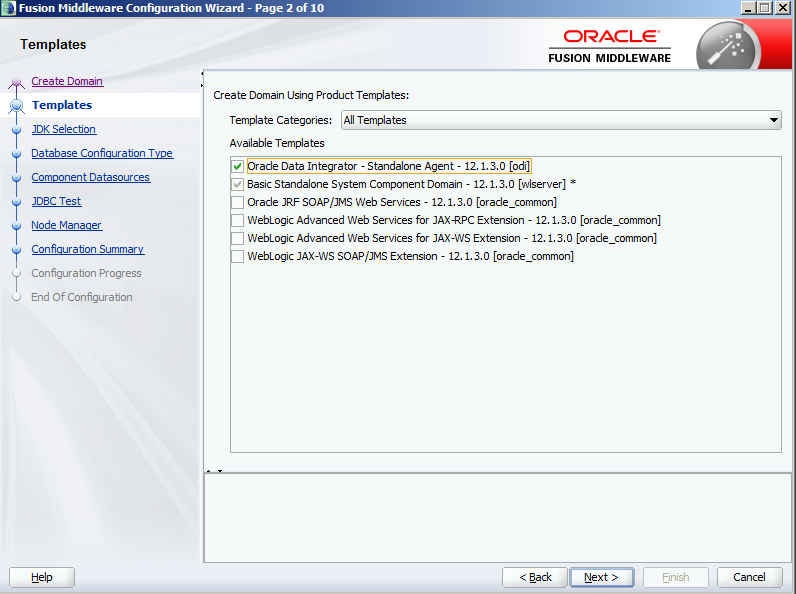
Select options
-
Specify the location of the Java JDK
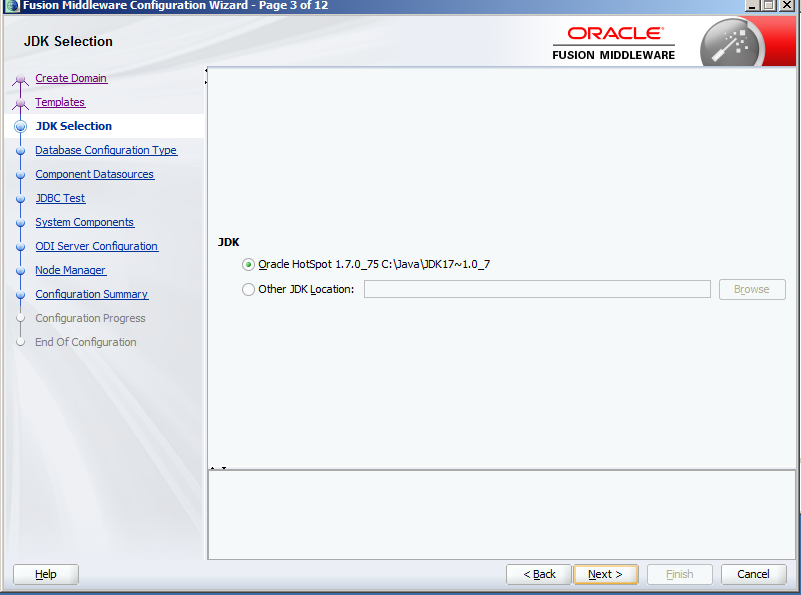
Specify JDK
-
Specify connection details using the previously entered RCU Data. Input the DB SID and connection details and click the “Get RCU Configuration” button.
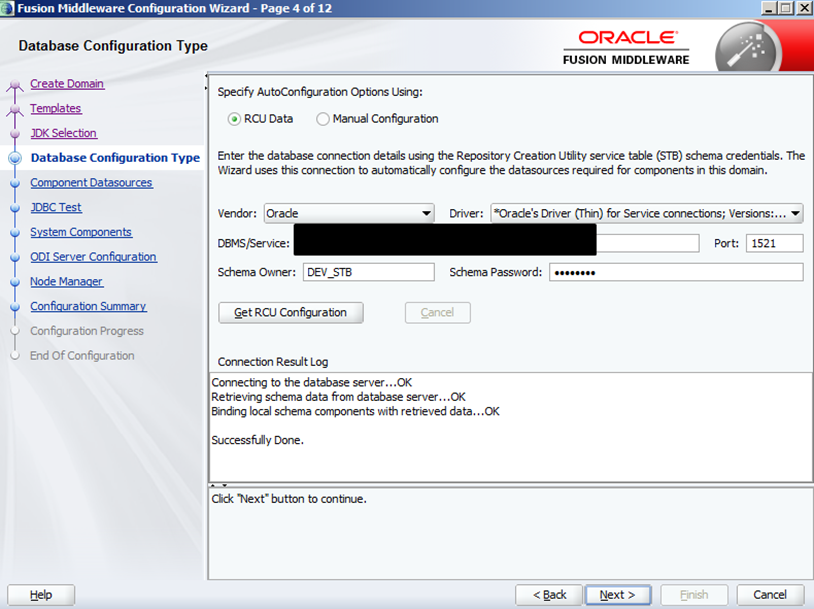
Enter login info
-
The next screen will be prepopulated from the RCU config details that were entered. Click Next.

Confirm info
- Schema connections will then be tested
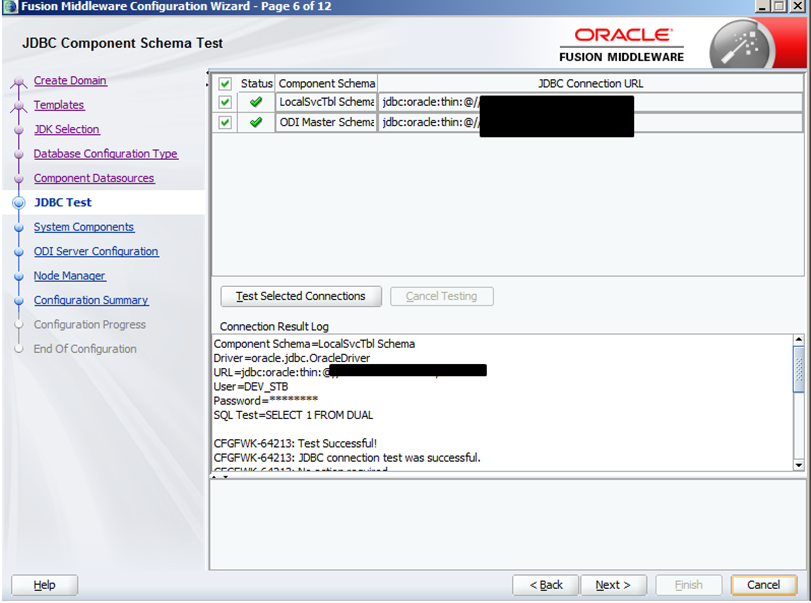
Test connections
-
Next we’ll accept the default specified agent
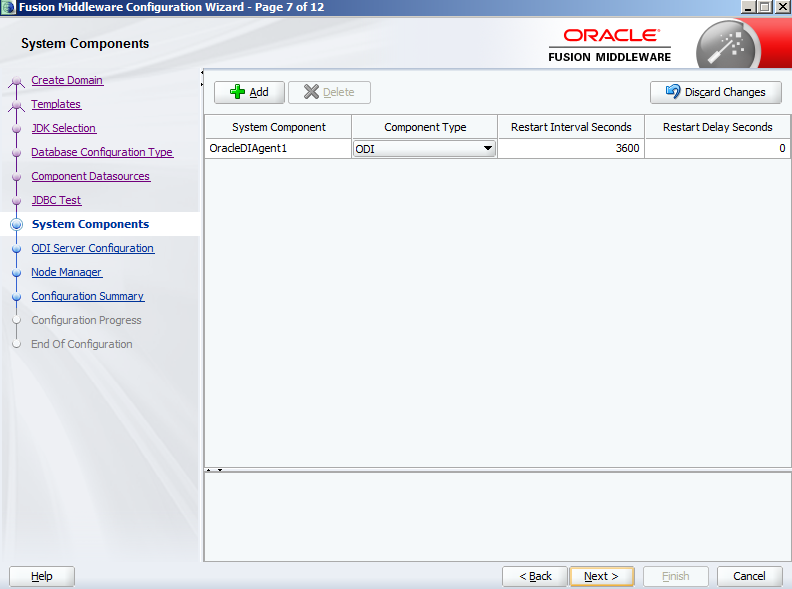
Accept agent
-
Accept the default agent settings. I specified the actual IP address for the machine where ODI was installed instead of the default “localhost”

Enter agent info
-
After the agent, specify credentials for the node manager.

Specify credentials
-
Review the install summary and click to Create
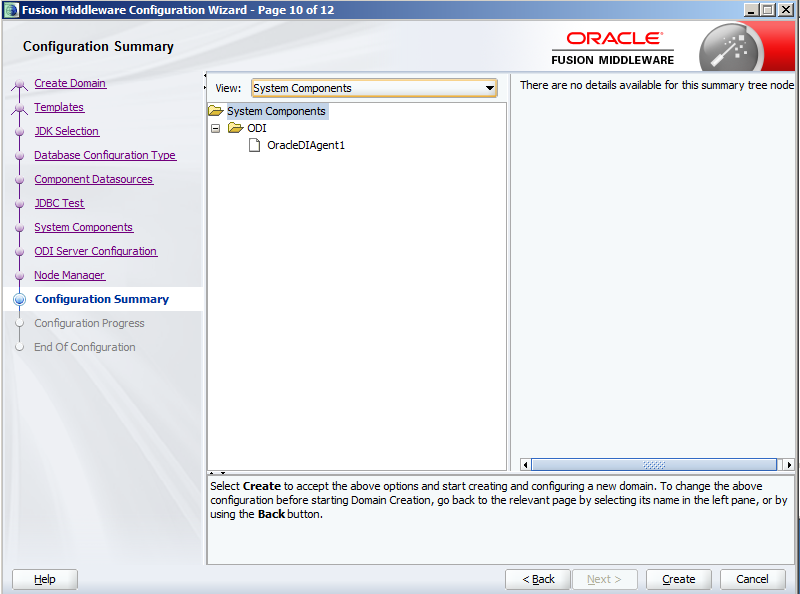
Review
-
The creation step will finish
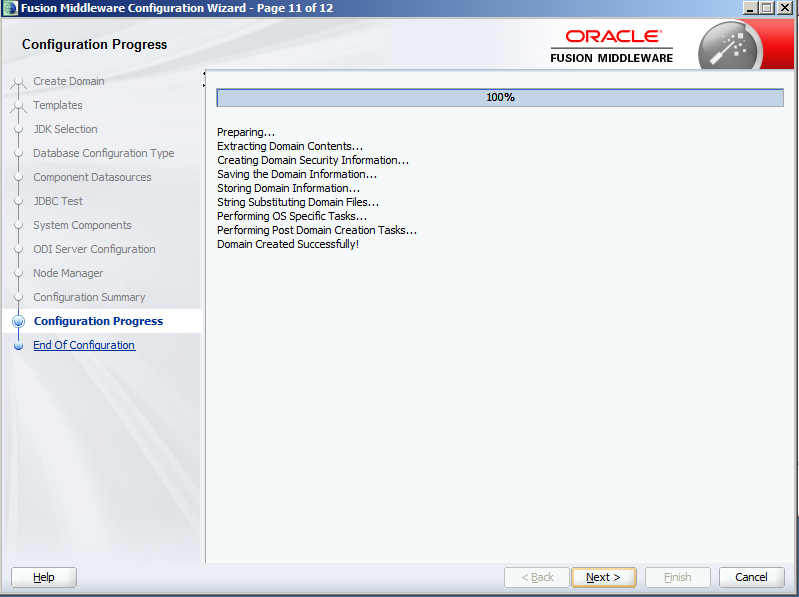
Monitor progress
-
And the new domain location will be displayed.

New domain
START ODI STUDIO
-
Start the studio selecting either the 32 bit or 64 bit version. I’m using the 64 bit version here. On the initial launch, you will be prompted for the JAVA JDK location.
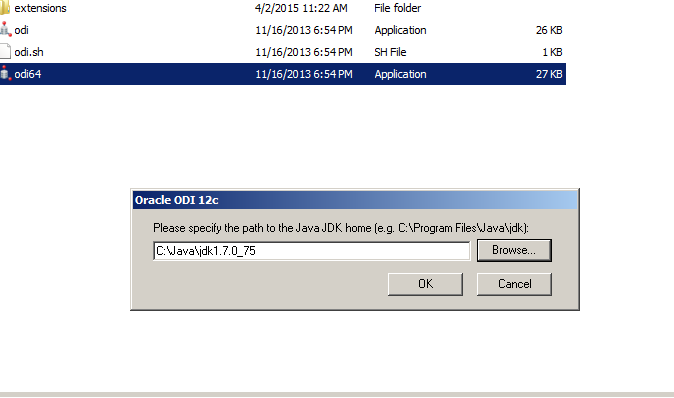
Start ODI Studio
-
When you click Connect to Repository, you will need to setup the initial connection details. The first section should be the SUPERVISOR credentials specified during the install. The second section should be the schema for the master repository created during the RCU setup. For the last section, click the hourglass and select the work repository that was created during the install and config.

Specify repository info
-
Test the connection. If successful, click the Default Connection box and click OK. From now on, this connection will be the default when starting up Studio.
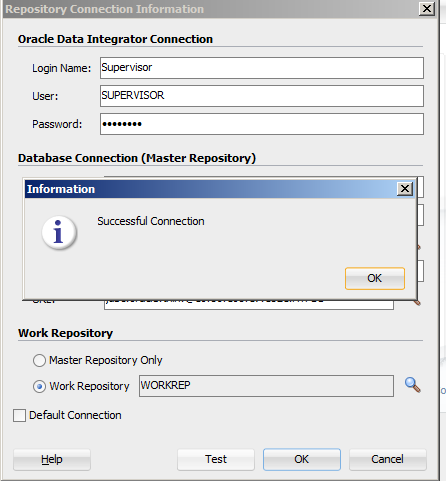
Test the connection
-
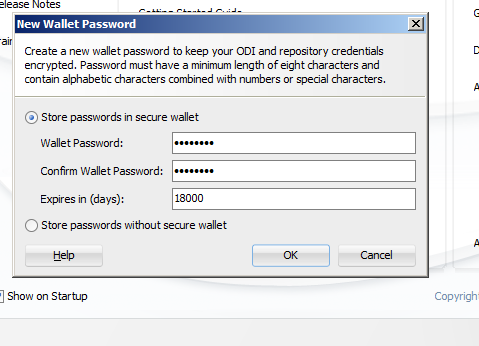
When logging in for the first time, you’ll be prompted to use a “secure wallet” for your passwords. I elected to use it. You can opted not to if desired. If you don’t use the wallet, the ODI credentials will not be encrypted.
Store passwords
CREATE/START ODI AGENT IN STUDIO
-
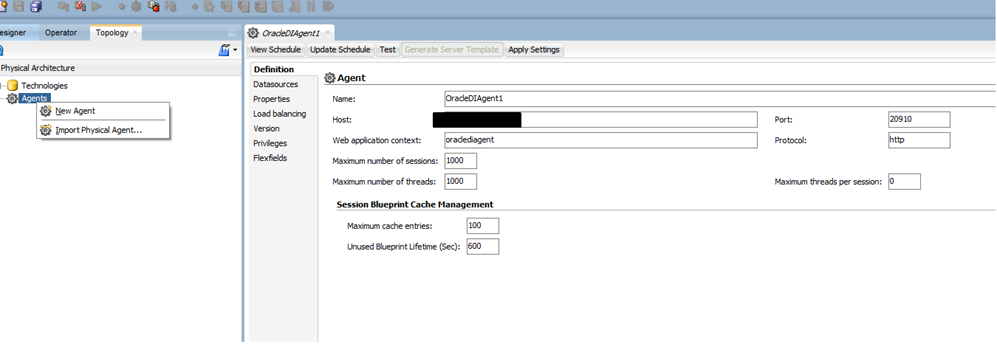
The configuration utility sets up the backend scripts for the ODI agent, but we still need to create it in the Topology tab in Studio. Right-click and select New Agent. Name the agent the same name and port specified during the configuration utility. Save the changes. If you test the connection at this point, it will fail as we have not started the agent service.
Create agent
-
Start the ODI agent. You can do this in one of two ways. The first involved starting up the Node Manager and starting the agent as a component within the node. Start the Node Manager with the script shown below.
Start agent
-
Once the Node Manager is running, start the agent as a component. Pass the name of the agent to the startComponent.cmd command. When prompted, enter the Node Manager password specified during the configuration utility. To stop the agent, use the stopComponent.cmd command with the agent name. Shutdown the Node Manager with the stopNodeManager.cmd command.

Start agent
-
You can also start the agent without the Node Manager. Here simply use the agent.cmd and pass the name of the agent.
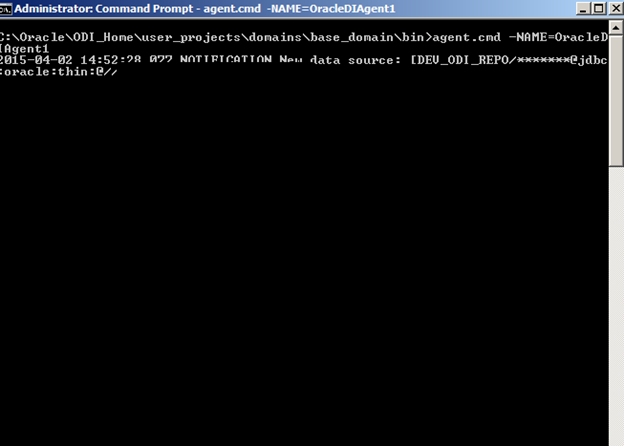
Start agent
-
Once the agent is started, return to the Topology tab in ODI Studio and test the agent connection. You now have an agent to use when scheduling/running components in ODI. You’re now ready to start creating connections and developing.

Test agent
NOTE ABOUT SYSDBA
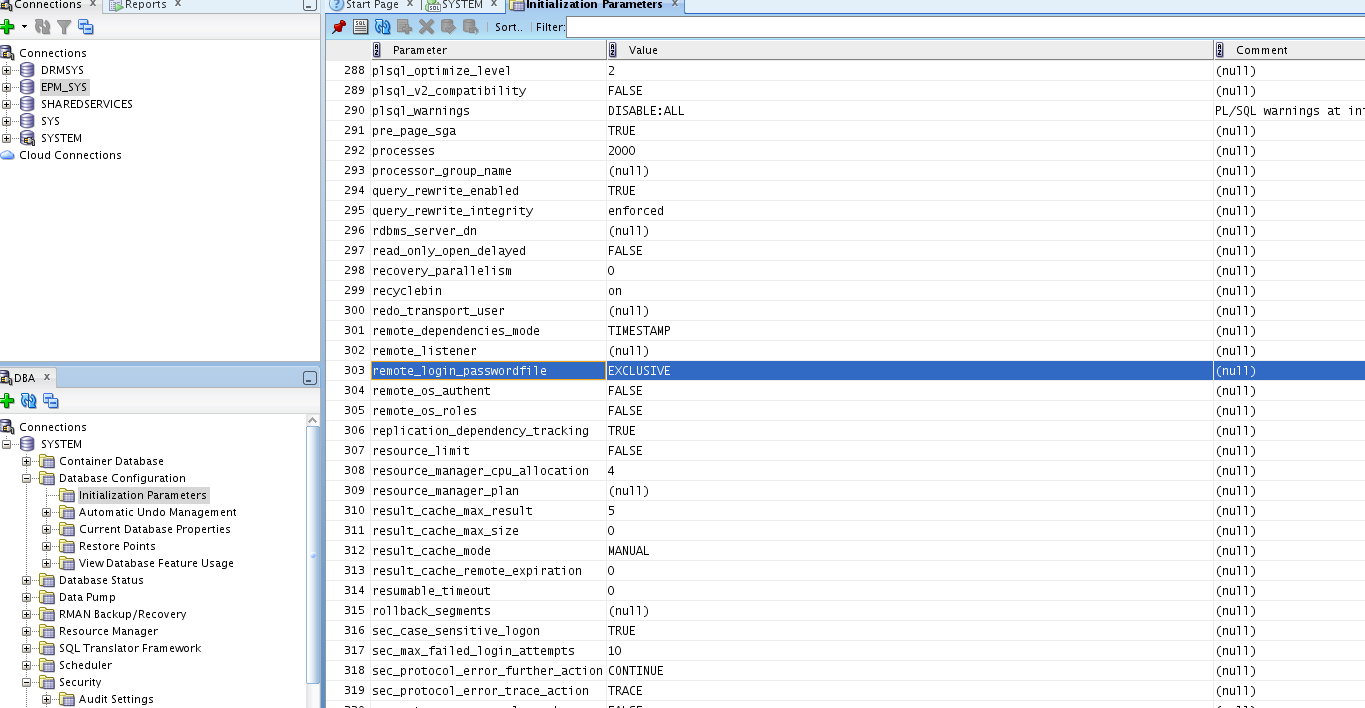
If using Oracle DB for ODI repositories, you will need a user with sysdba privileges. I had some trouble with this and had to figure out how to grant sysdba to a user or allow remote logins with the SYS user. If you are using an Oracle DB, you will need to make sure to create a password file so that you can grant sysdba privileges. There are two steps to perform. First, insure the parameter seen in the screenshot below is set to EXCLUSIVE or SHARED. Either update via SQLDEVELOPER or via SQLPLUS (connect sys as sysdba).
Oracle settings
The next step is to create a password file. This is done by using the orapwd utility. The filename should be in the form of orapwSIDforDB. In my example, the SID for my DB is HYPDB. Second parameter is the SYS user password and then how many entries should be allowed in the file. In this example, a total of 10 users can be granted SYSDBA and/or SYSOPER privilegs.

orapwd command
Please note that the SYSDBA and SYSOPER privileges grant a lot of power. Be careful in the granting of and use of these privileges.
hello Pete,
I have a quick question, I did ODI upgrade from ODI11g to ODI 12c. After the upgrade the variables which are used in Interfaces, Packages are not picking up the value at runtime. They are referring to the variable name like “#var1”. This is a major issue for our upgrade process. May I know if you have a solution for this issue.
Thank you.
Regards,
Arun
Hi Arun,
Are the variables declared in the packages? I’ve also heard that names are case-sensitive in 12C so make sure any references use the correct case. Are you able to test the variables (underlying SQL) successfully?