Starting with version 11.1.2.3, Hyperion Planning rolled out some cool new functionality for dimension (and data) updates to your planning applications. The idea is to make it really easy to update your dimensions without using ODI, the Outline Load Utility, the Planning Admin Extension for Smart View or manually. We’ll look at the Planning extension in another post; this one will just focus on the Import Metadata functionality.
First, let’s take a look at the file that we will need to use for loading our dimension. As far as I’ve been able to tell, we can only use comma separated values for the file format. The documentation hints that other delimiters are possible, though I haven’t been able to figure out yet how to do this yet. From the example below, you can see that the file that I’ve set up, looks remarkably similar to an import file you might use for outline load utility.
The file follows a “parent-child” structure; parent implies the rollup the member belongs to. In the example above, “TA000” rolls up into “Balance_Sheet”. The other thing to notice here is that Planning understands the dimension name from the column header. So, in this case, the assumption is that we are loading the “Account” dimension. Other metadata we are loading above includes alias (if you have a second alias table, just set up another column with the name of that table), Account Type (notice I am only putting “Asset” as the value for the top member? All members below will automatically receive that tag) and Data Storage.
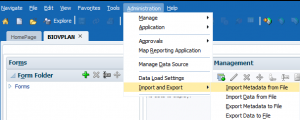
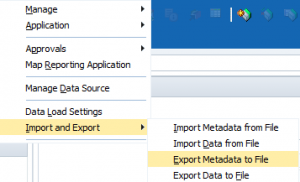
Once we’ve set up the file, we need to navigate to Administration > Import and Export > Import Metadata from File.
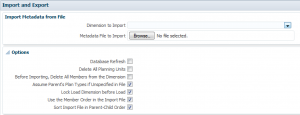
The tab that opens up gives you different options such as whether to do a database refresh after completion, delete members etc.
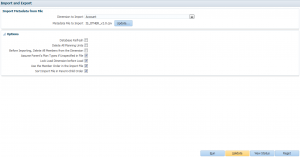
Choose the dimension you wish to import from the drop down list and select the file with the import metadata.
From the bottom of the page, you can choose to validate the file if you wish, prior to loading. Hit Run to perform the load into Planning. And boom, because we are good at this, no errors and our dimension is loaded correctly.
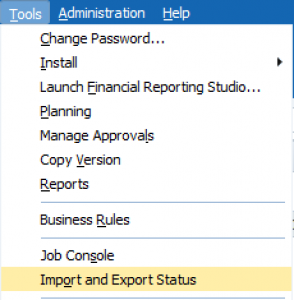
If there were errors, you can check the job status immediately or if you wish to do this at a later time, just navigate to to Tools > Import and Export Status to check past runs.
Other Notes
Now that was the perfect case of everything going well and without issue. But, it raises a few questions like:
- How does the accounts dimension metadata need to look like in the first place?
- What if I have accounts vaild for one plan type but not another?
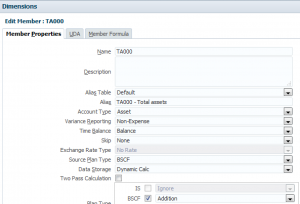
I would start by adding one member with the correct metadata, applying to the correct plan type manually. Once I’ve done that, I can run the Export Metadata to File feature.
The file that gets extracted out will show you all the metadata that might be applicable to the dimension. You can get rid of columns that you don’t need; you can even change the column order if you so wish, just as long as the proper header names are represented on some column.
And finally, when you run into an error, post load, the job status is quite useful. It shows the row number of the record (Record Index) that got rejected.
So there you have it, a useful tool that simple enough for the less tech savvy administrator get around planning dimension updates.
EDIT: This feature was rolled out in version 11.1.2.3 initially and the post has been updated to reflect this.


