Now that we’ve finished the DRM install, it’s time to create a new DRM application. This process is pretty straight-forward as well. As usual, let’s look at some of the pre-requisites.
Pre-requisites
- Create a new repository (ensure you have the database rights to do this). Alternatively, you can choose to run scripts manually as well.
- Suitable application creation music (check out Mochipet as well).
Steps
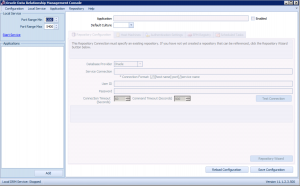
- Let’s open up the DRM Management Console. The console is the tool from which activities such as creating applications, starting/stopping services, setting up connectivity to Shared Services registering DRM with EPMA etc. happens (note to self: topics for another day). The tool itself can be launched from Programs > Oracle EPM System >Data Relationship Management > Configuration Console.
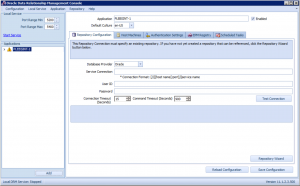
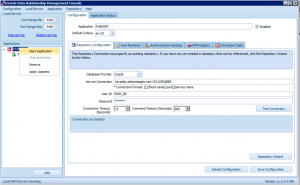
- Now, select Add and you will see new tabs being populated.
– Repository Configuration: this is where the bulk of our work today will be conducted. As the name suggests, this is where the SQL container for the application will be created.
– Host machines: here is where we will be setting up the API adapter (for instance, if enabling DRM -> R12 integrations), enabling CSS (Shared Services connectivity) etc.
– Authentication Settings: here is where we would set up authentication through DRM locally, through Shared Services or both.
– EPM Registry: this is where we register DRM with Shared Services.
– Scheduled Tasks: this lets you purge delete versions permanently, from the repository.
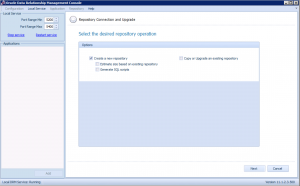
- Now, select the Repository Wizard. The wizard will let you choose from creating a new repository or performing an upgrade. Choose the former option.
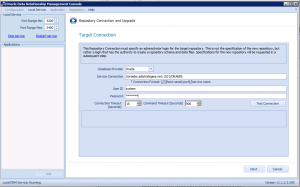
- Now, we need to enter the database details. Note that DRM kindly provides us the syntax needed for the service connection. Probably good form at this point to check your work by selecting the Test Connection button.
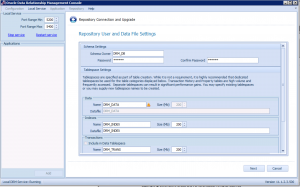
- The next step is to enter the schema name and provide the tablespace details for data files, Indexes and Transactions and Properties. The defaults will suffice.
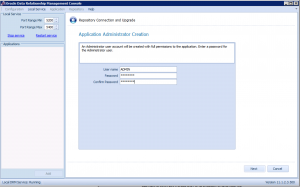
- An administrator user name and password will need to be provided now.
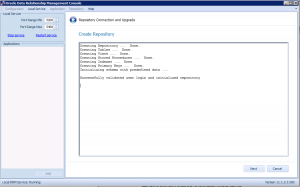
- Click through and finish the process.
- Finally, we need to save the configuration and start the application. The application be started by right clicking on the application and selecting Start. Note: you might also need to restart the service.
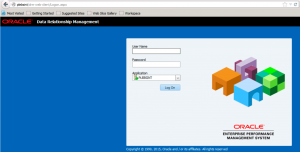
- Now, fire up a browser window and go to:
http://servername/drm-web-client
And there you have it folks, your DRM application has been created. As you can see, setting up a DRM application is a pretty simple process. This concludes our 2-part series on installing DRM and setting up an application.


