So, to kick things off, I thought I would start off with a simple post on how to install DRM 11.1.2.4. This will be part 1 of a 2 part series. To start off with, let’s make sure we have the prerequisites ready.
Installation Prerequisites
- Windows 2008 R2 server
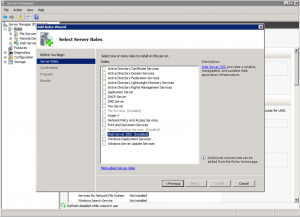
- IIS (Internet Information Services) turned on on said server.
- .NET 4.5 installed on the same.
- The DRM 11.1.2.4 setup.exe file (and other components, if needed) downloaded from Oracle edelivery.
- Suitable install music (recommend The Knocks).
Installation Steps
Once all the pre-requisites are dealt with, we can get down to the business of running the install file.
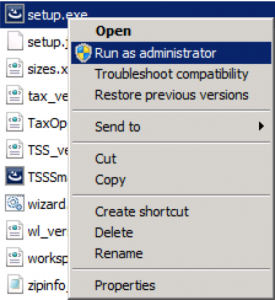
- Run the setup.exe file; probably good form to run it as administrator.
-
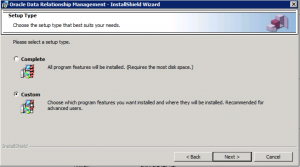
Follow the wizard, and choose a Custom install so that we can see what we are installing. Even though , we will be doing a plain vanilla install.
- We can now see the various components that are shipped with the install.
– Application Server: this is the DRM engine. This is the part that processes user requests and talks directly to the database layer.
– CSS Bridge: Connector for Hyperion Shared Services.
– Web Server: this is the layer that connects user requests to the application server. This is also the IIS component.
– Migration Utility: super awesome web application to manage DRM metadata.
– Documentation: this would be documentation.
– Batch Client: Windows client for running batch jobs. This is what we use when automating scenarios such as DRM imports, exports, action scripts etc.
-
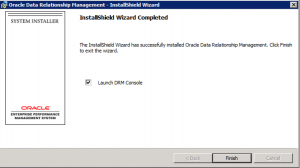
Click through and finish the install. This will launch the DRM Console.
That concludes a straightforward install process. Now that you have the install set up, the next step is to create and configure an application which the next post will address. As is probably clear, this is more of a test post, as I am still getting used to the act of blogging.


